
Nostrum Damus SASS #110702
-
Posts
1,058 -
Joined
-
Last visited
Content Type
Profiles
Forums
Events
Everything posted by Nostrum Damus SASS #110702
-
 Me too. Kicked myself for not having done it sooner.
 -
My MEC 9000 GN is mounted on a cookie sheet (and then a board) to catch my inevitable mess of both powder and shot when I make mistakes. I made a hole large enough to pass a few shot pellets at one corner of the cookie sheet. The hole is normally closed by a piece of duct tape from the underside. When I'm done and need to clean up, I just open up the hole, prop up the other end of the board a couple of inches and watch all of the shot roll to the corner with the hole and into a waiting container underneath. I then use a paintbrush to sweep up all of the powder, using any flat card stock as the dustpan.
-
Your a toddler until you stop toddling. There is no age limit.
-
Too-short Hornady 357 Mag brass
Nostrum Damus SASS #110702 replied to Nostrum Damus SASS #110702's topic in SASS Wire
I get and give away so many .38 Special cases that find their way to my basket at the unloading table that I don't need to create case trimming work for anyone else. .38 Spl case length is 1.155 max. The Hornady .357 Mag cases are about 1.245 give or take. Plus, out of a thousand cases, I found maybe 25, not exactly a treasure trove but still enough to annoy me when they failed to activate the bullet dropper or were insufficiently flared. -
I took some medium grit paper to that rough area and it completely eliminated the issue of bullet bases catching on the grooves and the bullets tipping and clogging the chute. Dillon can easily modify the additive manufacturing software to make that area smooth, and they should do so.
-
True but they are still just fine for loading practice ammo, if you can get them. I have recovered thousands of primers from old/unreliable/mystery ammo and believe it or not, they go bang better than 99% of the time. Still, I wouldn't want that one old mystery dud primer to come up during a big match that I had traveled to and paid a lot of money to shoot in and get to, so I use them to load practice and regular "home" match ammo where I won't get too cranky if one turns out to be a dud. I don't give them to Bullion Rose to shoot in her guns, though -- I have a reloading reputation to maintain at home in order to preserve domestic tranquility.
-
Too-short Hornady 357 Mag brass
Nostrum Damus SASS #110702 replied to Nostrum Damus SASS #110702's topic in SASS Wire
Found and discarded ten more. The longest Hornady case was .020 shorter than the shortest case of any of brand. -
Too-short Hornady 357 Mag brass
Nostrum Damus SASS #110702 replied to Nostrum Damus SASS #110702's topic in SASS Wire
Understood. I didn't expect to find it in range brass. I guess someone was practicing with or sighting in a hunting rifle. -
I had previous experience with Hornady's too-short brass that they use for their .45-70 325gr FTX LeveRevolution ammo. I just finished loading a batch of 500 once-fired range brass. In the course of the run, I had a number of cases that failed to activate the bullet dropper die on my Dillon XL750 press. I also had a number of cases which caused bullets to drop but the bullets fell off of the case mouths, there being insufficient belling. Every single one was a Hornady case. I now see that Hornady makes and sells 357 Mag LeveRevolution ammo loaded with a 140gr FTX bullet. Obviously it is the same problem as with the .45-70 -- they have to shorten the case way shorter than standard 357 Mag to deal with the pointed polymer tip profile of the FTX bullet and stay within max OAL spec. Oh well, I'll sort the second batch of 500 cases and toss the Hornady ones in the trash. Luckily it isn't too many.
-
Made that mistake only once, learned the lesson.
-
Use the media separator in a bucket of hot water. When the cases are submerged inside the cage, the pins fall out 100% reliably, much easier than when dry or damp. The only time I got "gunk" was when I accidentally used too much Armor-All Wash & Wax. I use a capful of that plus 1/8 tsp of citric acid and everything looks great every time.
-
Excellent follow-on stuff from Larsen E. Pettifogger. I am planning to make one additional modification to my Dillon Bullet Feeder. That "grooved" area in Larsen's photo (the red arrow) really needs to be as smooth and slick as it can be, and not roughly grooved, which is an artifact of the additive manufacturing technique used to make the center plate. I am going to take some sandpaper to that area to make it smooth.
-
I don't think you've been using a Dillon Bullet Feeder for 5+ years. It was introduced 3 months ago by Dillon. Do you mean a Double Alpha Mr. Bullet Feeder?
-
If you are asking if I've tried using it with with uncoated lead bullets, the answer is no. Would Dillon design, manufacture, market and sell a new bullet feeder that works only with coated bullets? I doubt it.
-
Dillon Bullet Feeder -- some further thoughts
Nostrum Damus SASS #110702 posted a topic in SASS Wire
I've now loaded almost 2500 rounds with it and have a few more thoughts for those looking to add a bullet feeder to their Dillon XL750. It goes without saying that your bench has to be rock-solid; I strongly suspect that it won't work well, maybe not at all, on any sort of shaky bench. My bench is bolted to the building structure; it doesn't move at all. I like it a lot. The joke "what will you do now with your left hand" is no joke! Properly adjusted for a given bullet, it runs nearly flawlessly, so I can pay closer attention to other aspects of the machine as I'm cranking out ammo. Here are the main issues, adjustments, etc. I've found: 1. As I mentioned in my previous post, I use the .45 caliber bullet chute, spring guide and switch for loading both .45 Colt AND .357 Magnum. It works perfectly for both RNFP bullets I use, whereas the smaller diameter combo of those three parts doesn't allow my particular 125gr coated RNFP bullets to gain enough speed to make it through the contact switch. An added bonus is that there is one less group of parts that need to be switched when I change calibers. I suspect that the smaller diameter set of parts works just fine for 9mm FMJ projectiles and maybe even for round-nose .357 Magnum bullets, coated or not; I can't say one way or the other. 2. There are three adjustments to the bullet feeder: inclination angle of the hopper, rotation speed of the bullet ring and height of the nose-down bullet "rejector" (for want of a better descriptive word). All three adjustments need to be fiddled with whenever you do a caliber change, of course after changing the bullet ring in the hopper if need be. And these three things will be different for different bullet shapes of the same caliber. The bullets are collected in the slots of the bullet ring at the bottom of the hopper, then rotated up to the 12 o'clock position. If they are nose-down when they get to the high side, they slide over the top edge of the rejector and fall back into the pack. If nose-up, then they are retained by the rejector and they make it all the way to the bullet chute. For round nose bullets, this discrimination/rejection is pretty simple. But for an RNFP profile, the top edge of the rejector must be BELOW the height of the flat part of the nose when the bullet is lying on its side, or else the bullet will get hung up on the rejector and then will enter the chute nose-down, and that's bad. When you get all of this adjusted just right, it NEVER drops a bullet nose-down in my experience so far. Getting it right is a matter of adjusting the height of the rejector AND the inclination of the hopper. Very tiny adjustments make a huge difference. Fortunately, you figure all of this out just by running it with the spring guide removed so the bullets just fall back into the hopper. Once you are satisfied, reattach the spring guide. 3. Rotation speed of the bullet ring is also important. Once everything was set up right, I found that I was sometimes loading rounds faster than the feeder was sending bullets to the dropper die. It just needed to be sped up and that ended that issue, but speeding it up did cause me to fiddle just slightly with the other two adjustments again to get everything just right again. 4. I used to watch my powder check die and the primer feeder arm, while of course placing bullets on cases with my left hand. I still watch the primer feeder arm to see a primer go in under the deck and an empty cup come back out, every single stroke. I now also watch to make sure that there's a bullet sitting on top of each charged case. I've had a couple of deformed bullets fail to drop; a hint (other than seeing a case moving to the seating die without a bullet) is that I don't hear the bullet feeder motor cycling, but when everything is working right the switch is stacked up with bullets so it doesn't always make motor noise anyway. Paying close attention to everything going on is still key, believe it or not. 5. And I'm now running without powder check dies and with combination seating/crimping dies because I really believe in having the Lee Factory Crimp Die in the fifth (last) position in the toolhead. I can understand why some go for even more complex machines with 6 or more stations in the toolhead. It isn't for me, and I don't see it as necessary for what I do, but at least I understand why others want it. As always, YMMV. -
I used the Hornady Powder Cop on all of my toolheads for my 750 until I decided to add a bullet feeder and use the Lee Factory Crimp Die. That combination requires the bullet dropper die to be in station 3, a combination seater/crimper or plain seater in station 4, and the FCD in the last station (5). So I no longer use a powder check die (and my three as-new Hornady Powder Cop dies are for sale in the Classifieds section here). To be frank, the Dillon powder assembly is the MOST RELIABLE station on the whole press once properly set up. Every time I have to do something (e.g., feed the bullet hopper, feed the case hopper, feed the powder hopper, feed the primer feed tube) I just spot check the last case that was charged with powder -- and I have yet to come across one that was incorrectly charged.
-
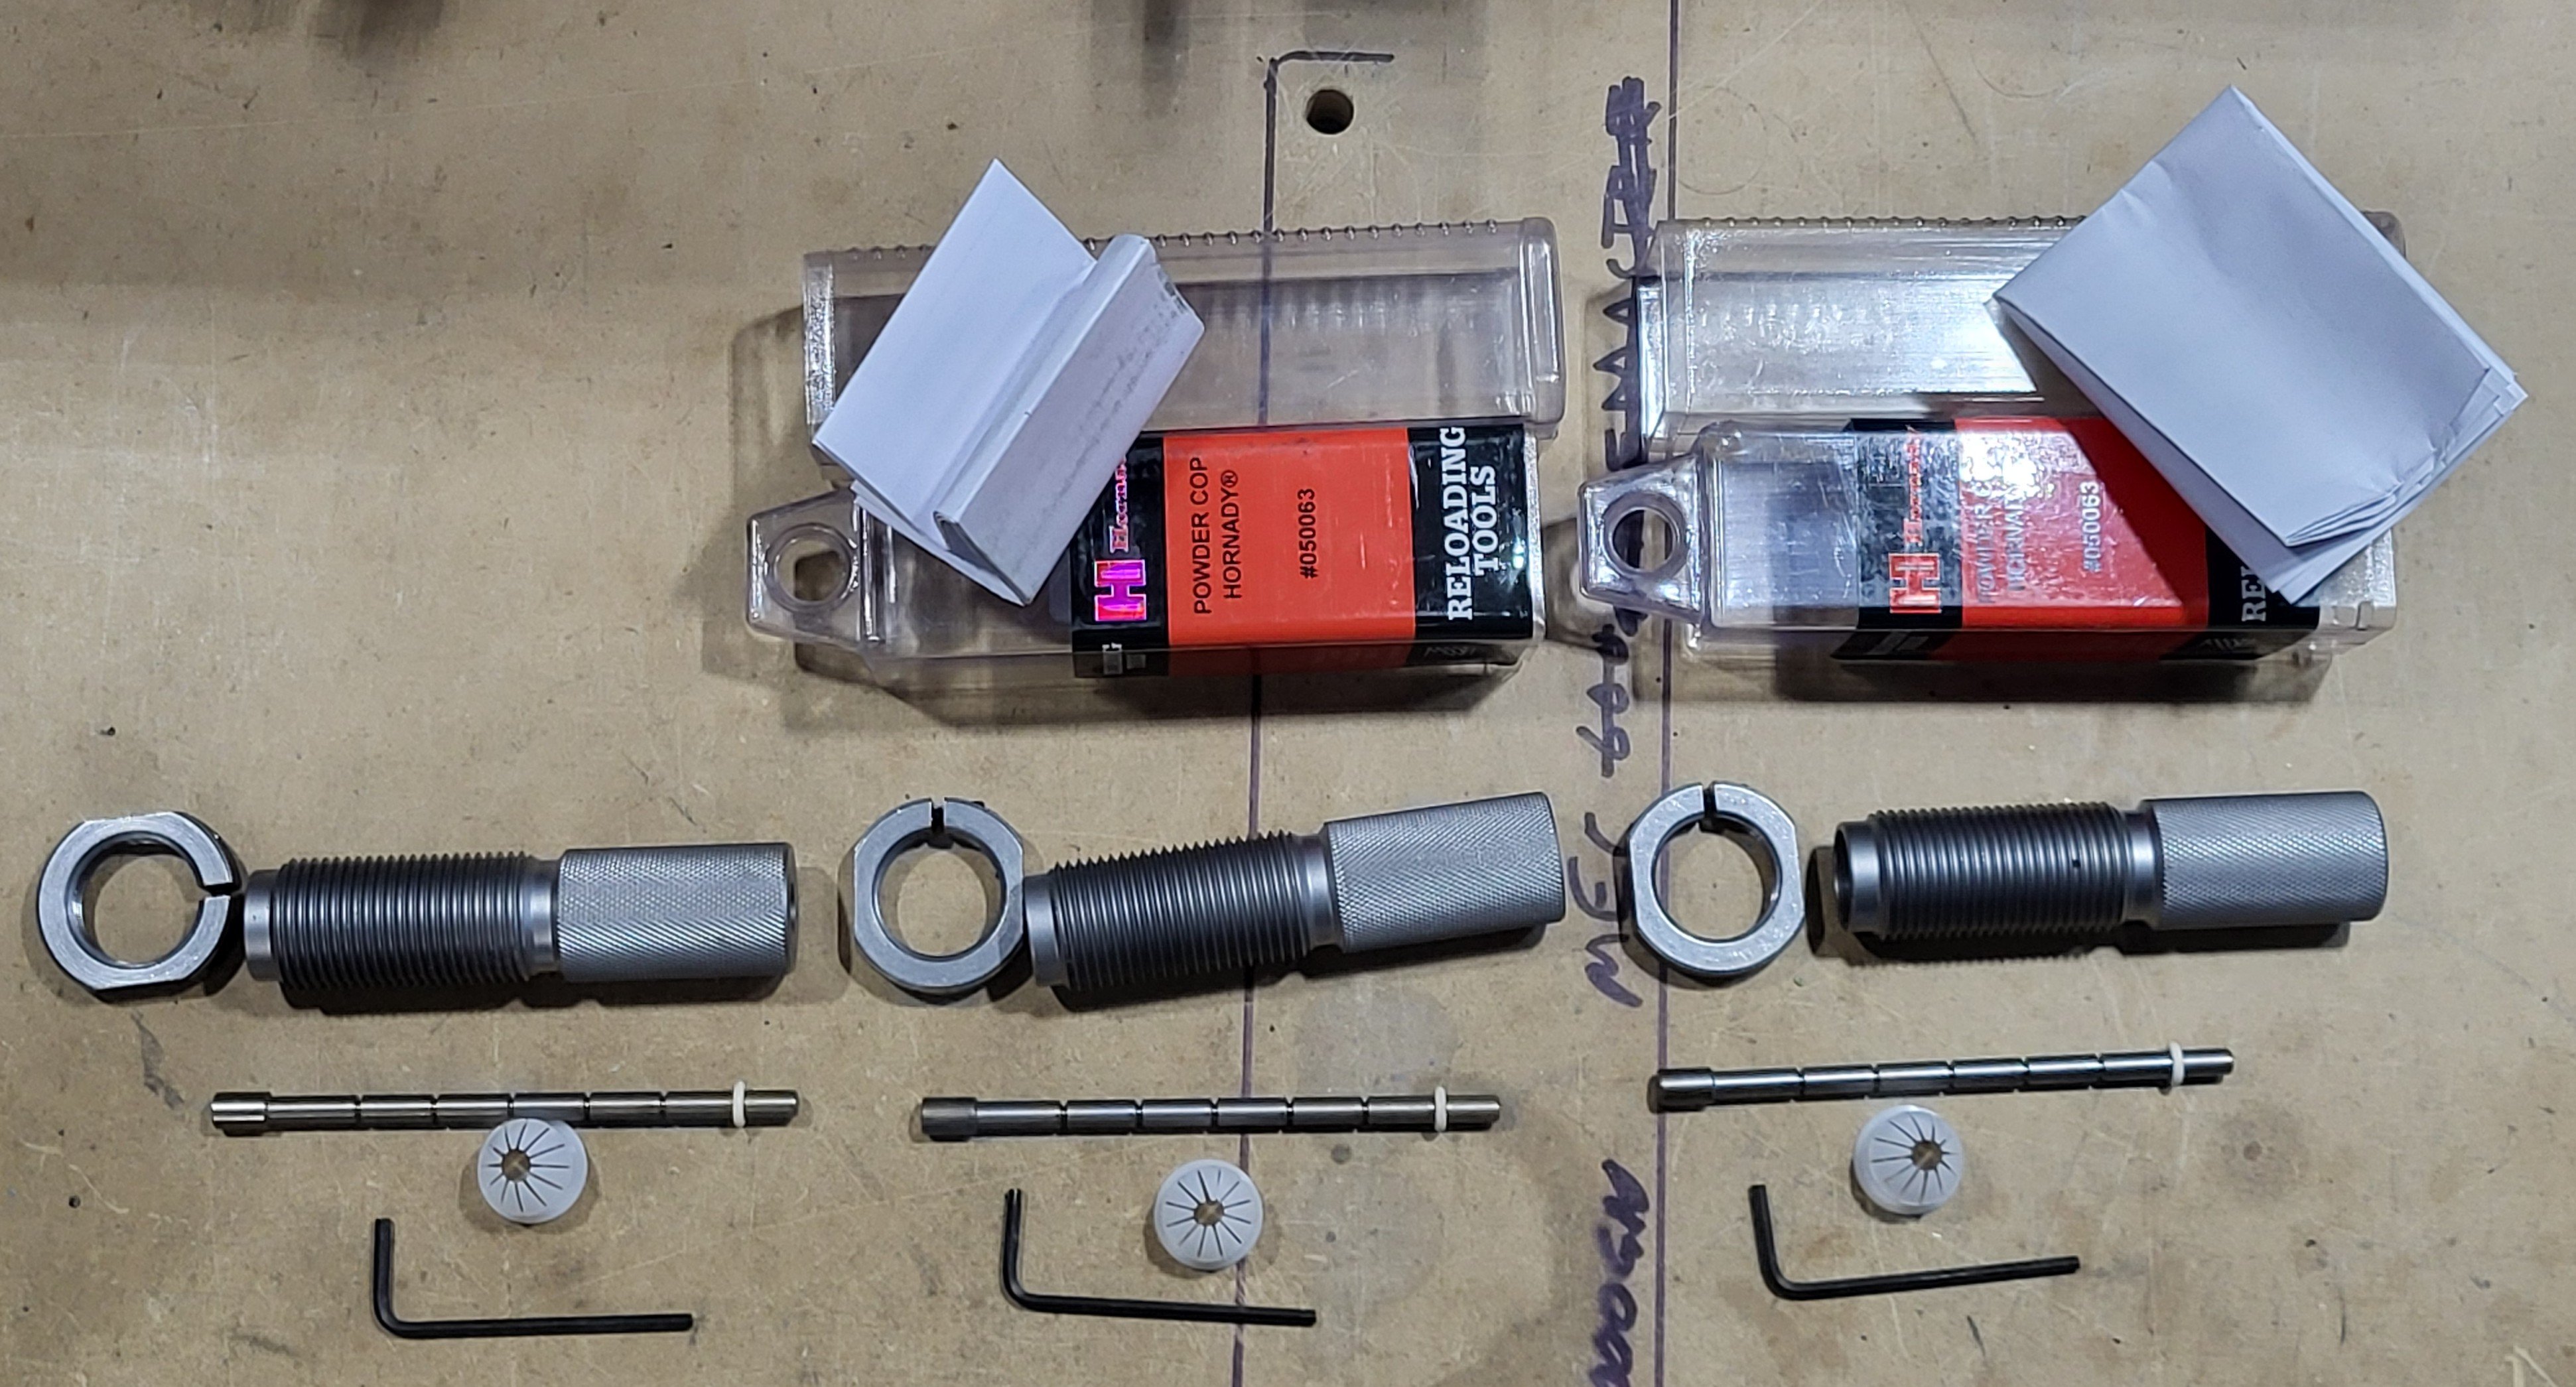
As I've been turned to The Dark Side and now have all three toolheads for my Dillon 750 set up with Dillon bullet dropper dies in station 3, I can no longer use these three "as new" (because nothing at all really happens to them when in use) Hornady Powder Cop dies. I really liked using them and miss them, but I am also now using a Lee Factory Crimp Die in station 5 of each toolhead, so station 4 must necessarily receive my RCBS combination seating/crimping die. I paid $122 for all three (I can't find the plastic box and instruction sheet for one of them). All three can be yours for $ shipped, or $ shipped for two, $ shipped for one. Thanks for looking.

-
Electronic scales
Nostrum Damus SASS #110702 replied to Horace Patootie, SASS #35798's topic in SASS Wire
I like the FA Intellidropper because I want a dispenser, not just a scale. A few tips for accuracy: you MUST let it warm up for about 30 minutes to allow the electronics to stop "drifting." And it must be level, which is easy enough to adjust with the bubble level on the machine. And get in the habit of zeroing it frequently. If you use two powder cups with EXACTLY IDENTICAL weights (you can make them so easily enough), it will fill one cup while you handle the other and you'll always have the next measured charge ready when you need it. -
Electronic scales
Nostrum Damus SASS #110702 replied to Horace Patootie, SASS #35798's topic in SASS Wire
Source for that? -
Altimont Grips
Nostrum Damus SASS #110702 replied to Beartrap SASS#57175's topic in SASS Wire Classifieds
I'll take #2 and #4. PM sent. -
What Dred Bob said /\/\/\/\. Wet tumbling is your friend. I cleaned about 1500 cases yesterday. An hour to hour and a half of wet tumbling, then twelve turns of the FA media separator drum in a nearly full bucket of water to rinse the brass and get the pins to fall into the bottom of the bucket, then a half hour in a mesh bag inside the door of a hot clothes dryer, and ta-da, batch done. I do 1500 45 Colt cases separated into four batches. A dose of ArmorAll Wash and Wax and 1/8 teaspoon of citric acid powder (any brand you like) makes the brass bright and shiny, inside and out. (I do high-speed decapping on the Dillon 750 with a tool head that has just one Lee Universal Decapper installed before cleaning.)
-
My Plainsman load for my .45-70 Trapdoor: 292gr coated FP-BB out of Lyman mold 457191 over a veg card just touching 30gr (vol) / 23.3gr (wt) of Triple Seven FFG. Very easy to shoot, very soft recoil, very high fun factor.
-
4.0 gr RED DOT under 200 gr RNFP coated pill, seat bullet where it makes the most sense, OAL 1.600" MAX, shorter is ok of course. Light recoil, easy and fun to shoot, never chron'd it.
-
SBH Hammers Available - Found Some
Nostrum Damus SASS #110702 replied to Waimea's topic in SASS Wire
LOL, who would buy anything made by Nostrum Damus?? I suppose this is all just pie-in-the-sky talk anyway ... if MIDWAYUSA and BROWNELL'S know they sell out whatever they get in seconds, and if even MIDWAYUSA and BROWNELL'S can't place an order for more SBH hammers, then there is some reason, whatever it may be, why Ruger won't make enough to satisfy the obvious demand. End of discussion. -
SBH Hammers Available - Found Some
Nostrum Damus SASS #110702 replied to Waimea's topic in SASS Wire
Why? More, and presumably easy, MONEY. Ruger sells modular fire control groups. That assembly is more likely to malfunction than any barrel or cylinder, but selling it is ok with their lawyers. They sell barrels too (https://shopruger.com/Barrels-Muzzle-Devices/products/5800/). I don't think it is the lawyers that stops Ruger from offering SBH hammers. I think they just make more money by using cylinders in their own complete guns than by selling them separately. And maybe that's true with SBH hammers, too. But people are apparently not buying new Super Blackhawk Standard and Hunter Revolvers in huge numbers, so waiting to turn SBH hammers into guns and then into money is a slower process for them, and it is also always true that TIME = MONEY.