
Subdeacon Joe
-
Posts
58,526 -
Joined
-
Last visited
-
Days Won
692
Content Type
Profiles
Forums
Events
Posts posted by Subdeacon Joe
-
-
I asked for a chart for exposure times for making ptints.
To make black-and-white photographic prints from film in a darkroom, standard RC (resin-coated) paper processing at 68°F–70°F (20°C) takes about 5 to 7 minutes total per print. Enlarger exposure times vary widely (typically 5 to 30 seconds) based on negative density and height, but chemical processing times remain fixed. [1, 2, 3, 4, 5]Darkroom Print Chemical Timing (RC Paper)- Developer (e.g., Dektol 1:2): 1.5 to 2 minutes. Agitate constantly by gently rocking the tray.
- Stop Bath: 30 seconds. Stops development immediately and protects the fixer.
- Fixer: 1 to 2 minutes. Makes the image permanent so it is safe to turn on room lights.
- Washing (Running Water): 5 to 10 minutes for RC paper (or 20+ minutes for fiber-based paper).
Finding Your Enlarger Exposure Time- Development Rule: Always develop test strips and final prints to completion (do not pull a print early from the developer to fix an overexposure, as it ruins contrast). Control lightness or darkness entirely using the enlarger timer. [1]
AndThere is no universal fixed-time exposure chart for making photographic prints from negatives at home. Optimal exposure times—typically falling between 10 and 30 seconds for standard enlargements—depend heavily on your enlarger height, lens aperture, bulb brightness, negative density, and paper sensitivity. Photographers use a test strip method to find the correct time for each unique negative.Standard Starting Points (Averaged Density Negatives)Contact Sheets: 8 to 15 seconds at lens aperture f/8 (enlarger head set to roughly a 16-inch rectangle on the baseboard).Enlargements (8×10 inch): 10 to 20 seconds at lens aperture f/8 or f/11 with a Grade 2 or Multigrade filter.How to Make a Test Strip (Finding Your Time)Set up your enlarger, focus the negative, and close the lens down to f/8 or f/11.Place a small strip of photographic paper (cut from a full sheet) emulsion-side up on your baseboard under an important part of the image.Cover the entire strip with an opaque card, then uncover it progressively in set time increments (e.g., exposing sections for cumulative times like 2, 4, 8, 16, and 32 seconds).Process the strip in your developer, stop, and fixer chemistry to see which segment yields the best highlight and shadow balance.And-
 2
-
I asked:
I'm getting into film photography. How do I develop the film and get prints? Do i have to wash the print after the stop bath? can you detail the process of printing the photos from the negatives, please
I got this answer:
To develop film and make physical prints, you load exposed film into a light-tight tank using a [changing bag](https://www.freestylephoto.com//5470-Ilford-and-Paterson-Film-Processing-Starter Kit), treat it with chemical baths (developer, stop bath, fixer), wash it, and hang it to dry. Yes, you must wash photographic paper in a running water bath after the stop bath and fixer stages to make the print permanent.Do You Have to Wash the Print After the Stop Bath?No, do not wash the print right after the stop bath.The stop bath only halts development.You must move the paper from the stop bath directly into the fixer next.If you wash it with water before the fixer, the remaining active chemicals can react unpredictably, and the image will not become permanent.The final water wash happens after the fixer stage.The Process of Printing Photos from Negatives (Darkroom Printing)To turn a black-and-white negative into a physical paper print, you need an enlarger, a red/orange safelight, and four flat trays: Tray 1 (Developer), Tray 2 (Stop Bath), Tray 3 (Fixer), and Tray 4 (Water Wash).Set Up the Enlarger: Place your dry negative into the negative carrier of the enlarger. Turn off white room lights and turn on your safelight.Project the Image: Turn on the enlarger light. Project the negative downward onto the baseboard. Adjust the height and focus knob until the image is the right size and sharp.Make a Test Strip: Place a small strip of light-sensitive photographic paper under a key part of the projected image. Use a card to block parts of it in timed increments (e.g., 2, 4, 8 seconds) to find the correct exposure time.Expose the Full Paper: Place a full sheet of photo paper on the baseboard. Expose it to the enlarger light for the correct number of seconds you found with your test strip.Develop (Tray 1): Slide the exposed paper face-down (then flip) into the paper developer. Gently rock the tray. The image will slowly appear over 1 to 2 minutes.Stop (Tray 2): Pick up the paper with tongs. Let it drip, then place it in the stop bath for about 10 to 30 seconds to stop the chemical reaction.Fix (Tray 3): Move the paper into the fixer tray for 2 to 5 minutes. The print is now safe to view under normal room light.Wash and Dry (Tray 4): Wash the print in a tray of clean, running water for 5 to 10 minutes to wash away residual chemicals. Hang it or lay it flat to dry.
-
2
-
 1
-
-
-
-
-
-
Some might be older than @Forty Rod SASS 3935
Ah, heck, a link to his YouTube channel:
https://youtube.com/@iron_jonesy?si=BDzDsR6fpAvkxDk2
-
1
-
2
-
-
24 minutes ago, Forty Rod SASS 3935 said:
Very clever and decorative. I may do something like that for my next .....Oh, like Hell I will.
I think the tap in the first one is genius.
-
1
-
-
-
-
Wow! It got you trained fast!
-
4
-
 3
-
-
-
3 hours ago, Sedalia Dave said:
Is it wrong to laugh and cringe at the same time?
-
2
-
-
-
4
-
3
-
-

-
1
-
1
-
1
-
-
40 minutes ago, Alpo said:
The gnome's? Or the guy with the cat?
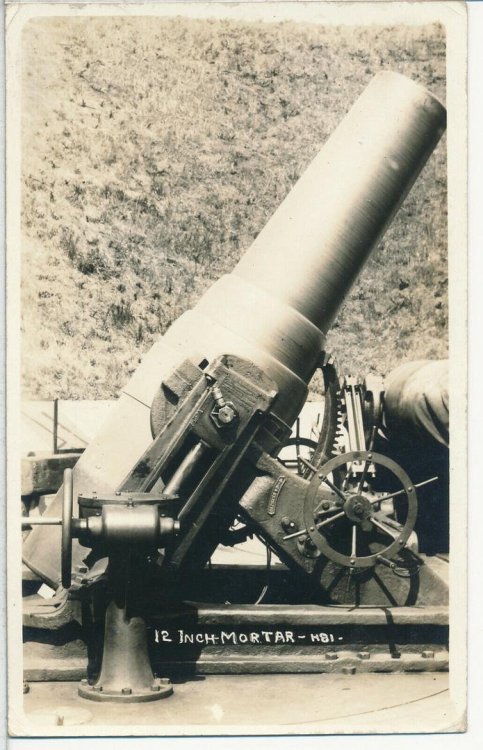
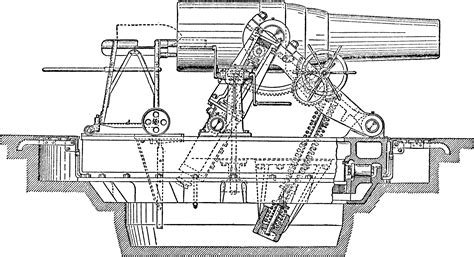
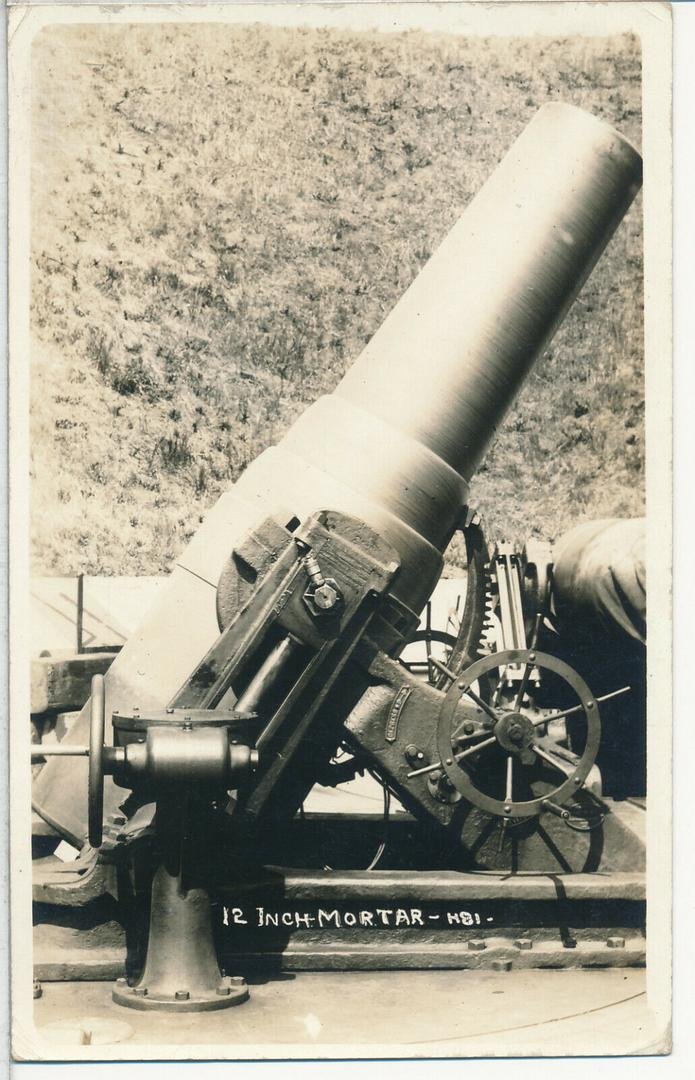
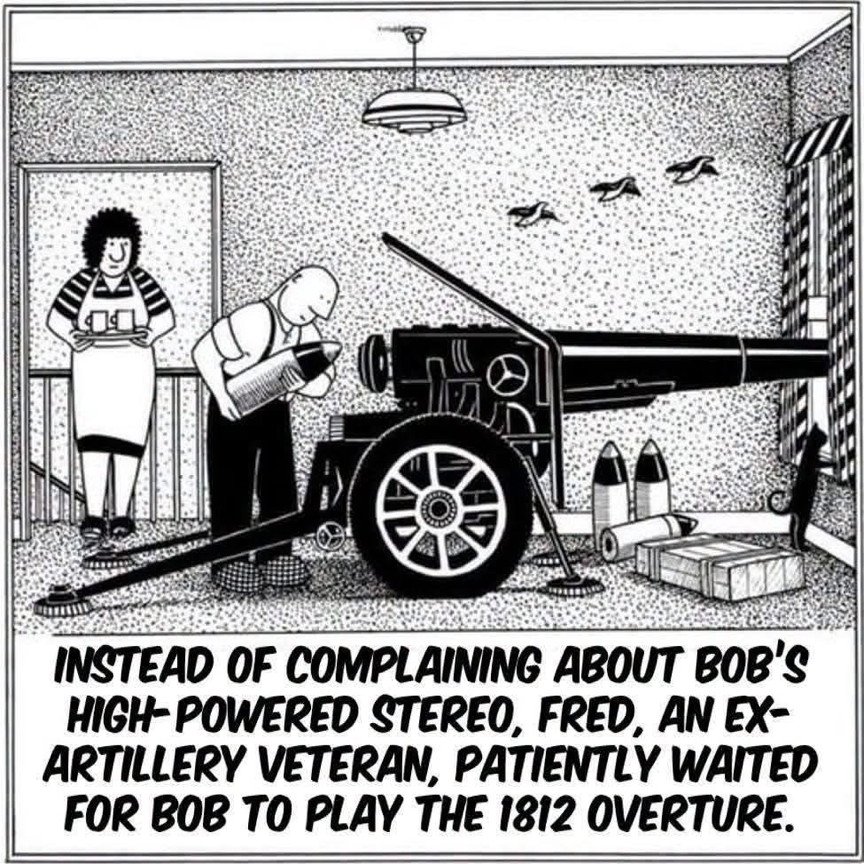
Actually, to me, they both look kind of like that 12 inch mortar.
The gnome's. The one waiting for the 1812 has something weird going on at the breach end.
-
1
-
-
1 hour ago, Alpo said:
First time I saw this garden gnome I thought of you.
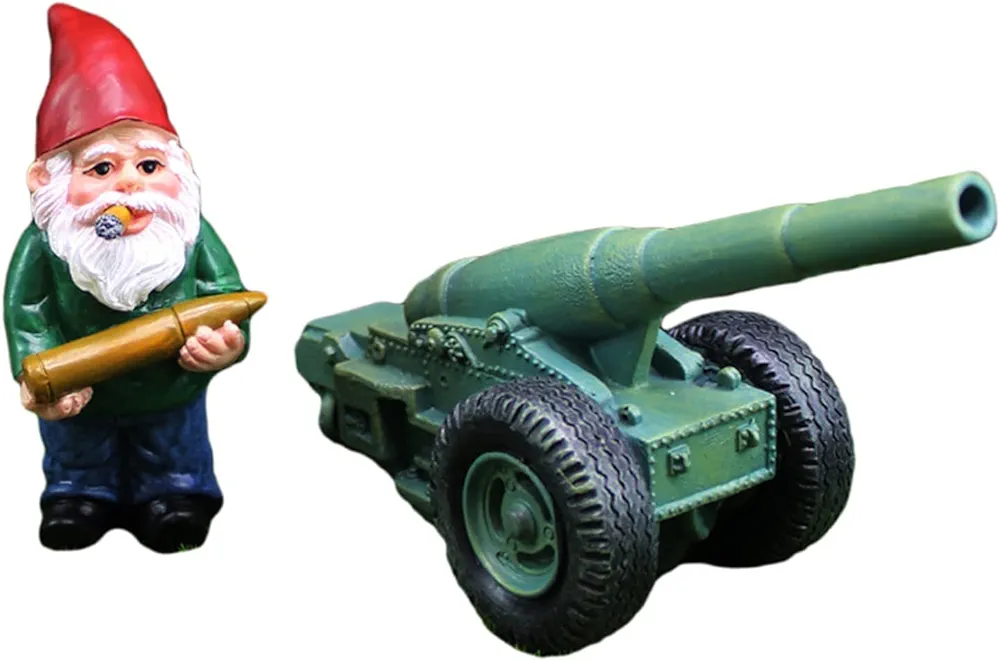
Bears a vague resemblance to the M1890 12" Mortar.
-
2
-
-
2 hours ago, Eyesa Horg said:
Just hope they miss Uranus. 🤠
And send probes in!
-
4
-
-
"Lighting someone else's candle doesn't diminish your own light."
-
4
-
3
-
-
17 hours ago, Alpo said:
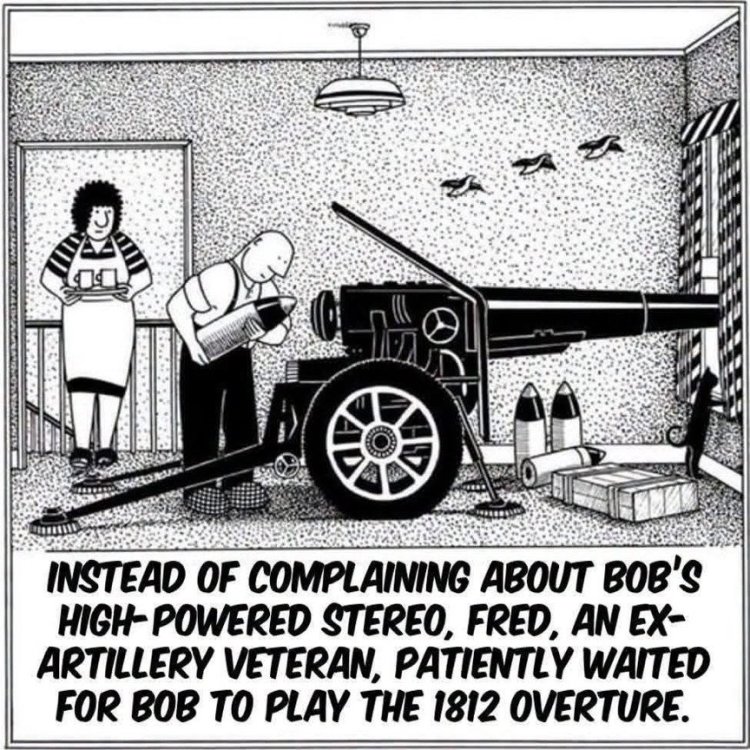
Awwww....he's thinking about me!


-
1
-
3
-
-
13 hours ago, Sgt. C.J. Sabre, SASS #46770 said:
When they they fly by Earth, they lock their doors.
They don't fly by Earth. They see the warning signs at the orbit of Pluto, then take the left just after Saturn to swing wide behind Earth.
Once past the Sun they make a right between Mars and Jupiter then left onto Galactic Route 6.02x10²³ and Bob's your uncle!
-
1
-
3
-
-
4 minutes ago, Eyesa Horg said:
Kinda emotional eh?
Yep. Kinda like the Grinch on Christmas morning.
-
1
-
-
-
-
2
-
5
-
Henry Winkler
in SASS Wire Saloon
Posted
I've always liked his acting. Yea, a couple of roles were flops, but even The Duke had a couple.
It took me 3 watchings to really appreciate his "Christmas Carol," mostly because the first 2 times I was back and forth to the kitchen really catch the details.